We’re happy to announce that we were successfully able to initiate a BusKill lockscreen trigger using a 3D-printed BusKill prototype!

While we do what we can to allow at-risk folks to purchase BusKill cables anonymously, there is always the risk of interdiction.
We don’t consider hologram stickers or tamper-evident tape/crisps/glitter to be sufficient solutions to supply-chain security. Rather, the solution to these attacks is to build open-source, disassembleable, and easily inspectable hardware whose integrity can be validated without damaging the device and without sophisticated technology.
Actually, the best way to confirm the integrity of your hardware is to build it yourself. Fortunately, printing your own circuit boards, microcontroller, or silicon has a steeper learning curve than a BusKill cable — which is essentially just a USB extension cable with a magnetic breakaway in the middle.
Mitigating interdiction via 3D printing is one of many reasons that Melanie Allen has been diligently working on prototyping a 3D-printable BusKill cable this year. In this article, we hope to showcase her progress and provide you some OpenSCAD and .stl files so you can experiment with building your own and help test and improve our designs.
ⓘ Note: This post is adapted from its original article on Melanie Allen’s blog.
Demo
Last month, I successfully triggered a lockscreen event using our 3D-printed BusKill prototype.
What is BusKill?
BusKill is a laptop kill-cord. It’s a USB cable with a magnetic breakaway that you attach to your body and connect to your computer.
If the connection between you to your computer is severed, then your device will lock, shutdown, or shred its encryption keys — thus keeping your encrypted data safe from thieves that steal your device.
Introduction
Since my last update, I’ve printed 35 iterations of the case and experimented with different parts, processes, and techniques. Each component of the case brings its own design challenges – the magnets, the pins, the receptors, the wires, the cable, and the case itself.
To see other progress updates on the 3D-printable BusKill cable, see the 3D Printing tag.
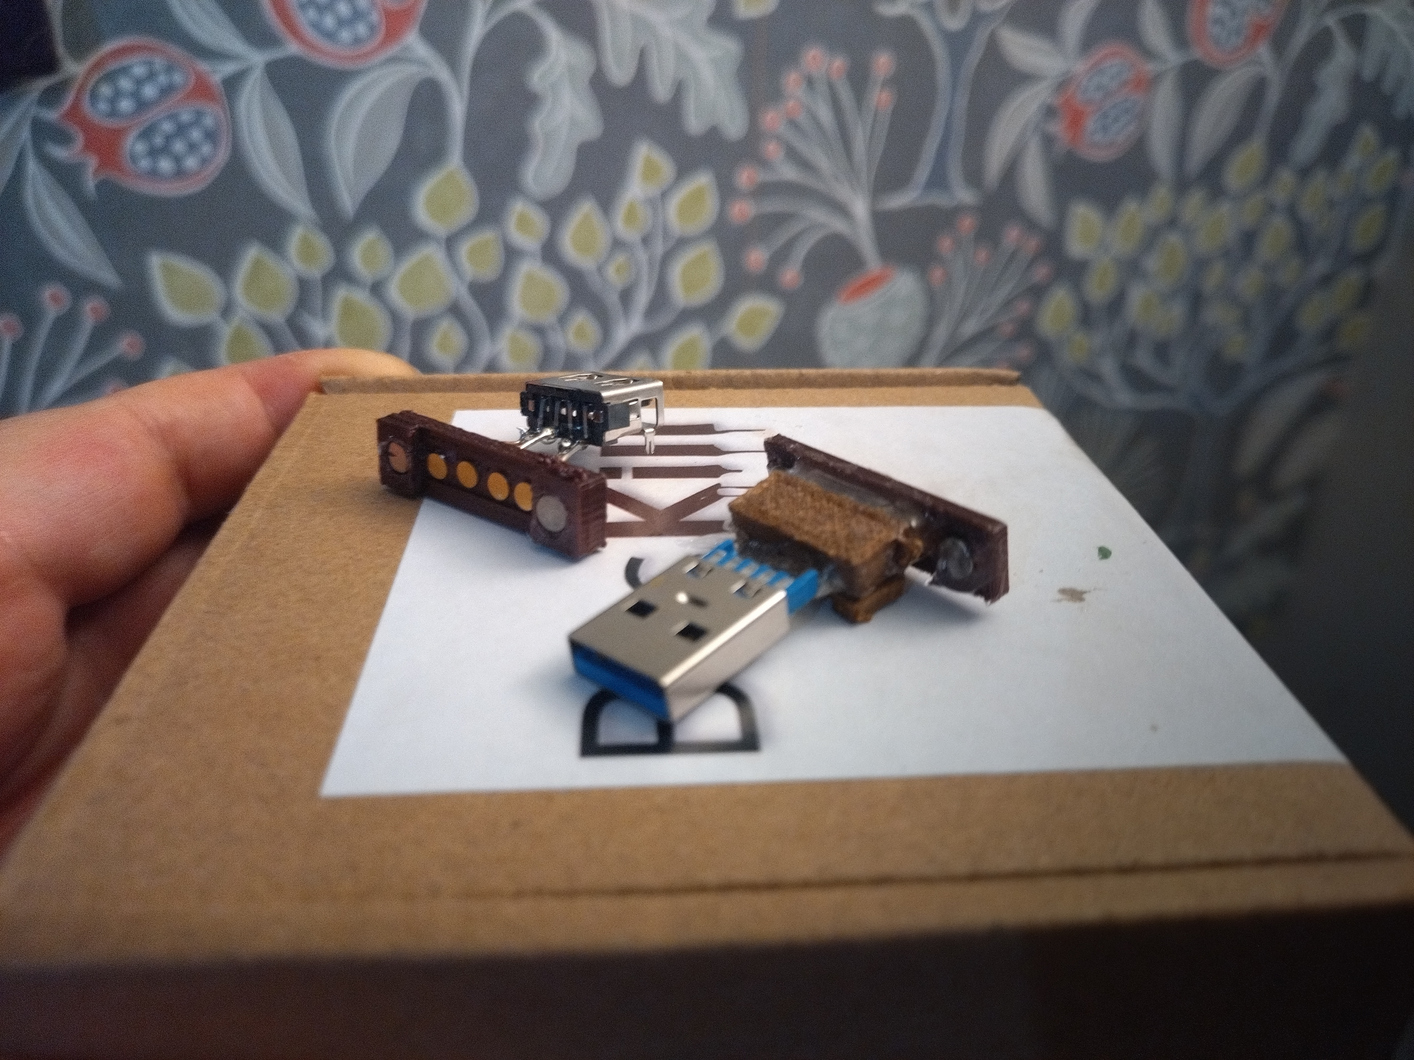
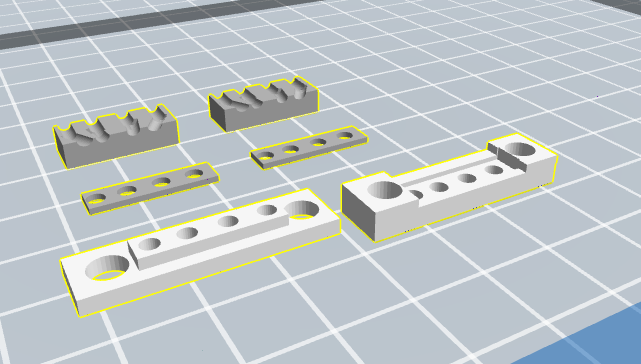
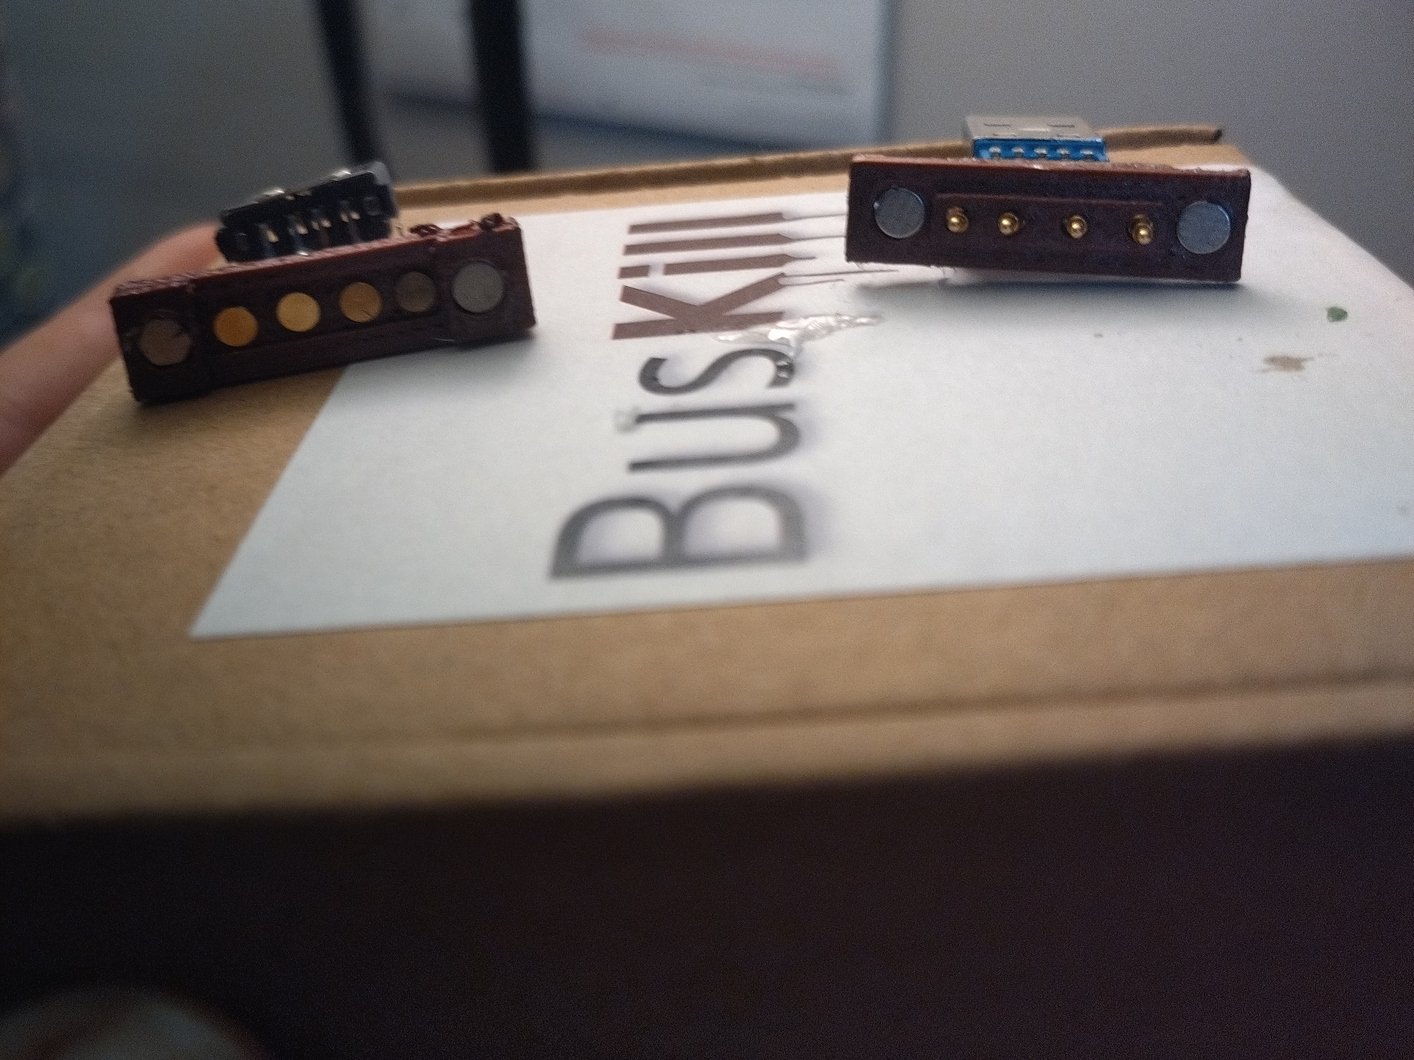
The prototype is currently an early proof-of-concept. It’s the minimum viable assembly of parts that successfully complete the objective of a functional decoupler. It includes two printable parts, the Breakaway and the Release that will be the “faces” or “contact points” of the final printable parts.
The Breakaway is an assembly of a Breakaway printed part, 22 awg wire, pogo receptors, USB port (female), and disc magnets.
The Release is an assembly of a Release printed part, 22 awg wire, pogo pins, USB plug (male), Jig, and disc magnets.
Glossary of Terms
- Breakaway The Magnetic Coupler has two parts. The Breakaway end is the part of the coupler that would separate from the laptop, it terminates the cord that is attached to the user and contains a female USB receptacle.
- Release The Release end is the part of the coupler that would remain connected to the laptop, it terminates the cord that ends with the male USB plug that goes into the computer’s female USB port.
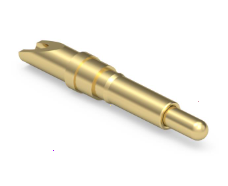
- Pogo Pin A pogo pin is a spring-loaded electrical connector. It’s commonly used in electronics to maintain a bus connection in magnetic couplers
- Jig A frame that’s used to assist with the assembly of a component in manufacturing.
For a full list of technical terminology used in our 3D-printable designs, see the Glossary.md file of our GitHub Repo
Tools
To assemble the 3D-printed BusKill prototype for this demo, we used the following tools:
Materials
To assemble the 3D-printed BusKill prototype for this demo, we needed the following materials:
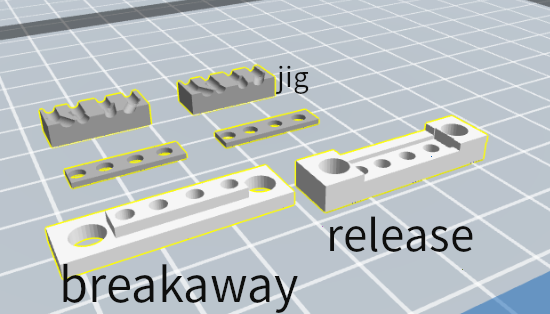
The “Release” consists of areas for two disk magnets and an extrusion to house pogo pins.
The “Jig” are parts that stabalize wires or pogo receptors and keeps them from moving.
- 3D-Printed Breakaway
- 3D-Printed Release
- 3D-Printed Jig
- Rosin core solder
- USB Female Connector
- USB Male Connector
- 22 awg solid wire
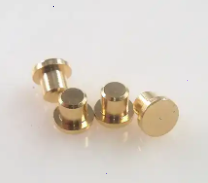
- Pogo receptors
- Pogo pins
- Strong glue
- USB 2.0 Extender Cord
- Neodymium Disc Magnets (4mm x 3mm)
For a thorough list of all the materials required, see the Bill of Materials in our GitHub repo
Build Procedure
This section will describe how we printed and built the 3D-printed BusKill prototype shown in the proof-of-concept demo above.
Step 1: Print the Components
Download the dengineering_v02.3.8.stl file for the components from our GitHub.
Open the STL file in your slicer program and edit the file to cut the “faces” from the rest of the parts and from each other.
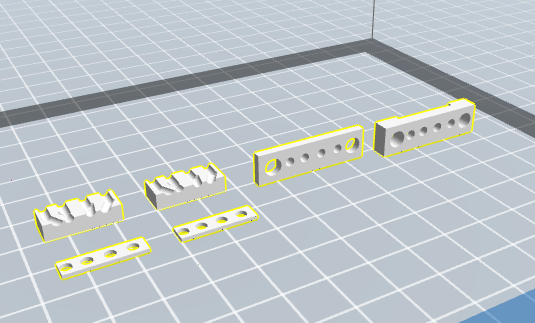
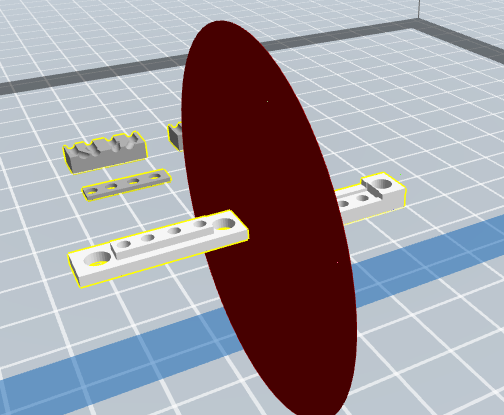
Rotate the items +90 degrees on the x axis and make sure both are moved to the surface.
Finally, print with 0.2mm layer height and on a “raft” for best results.
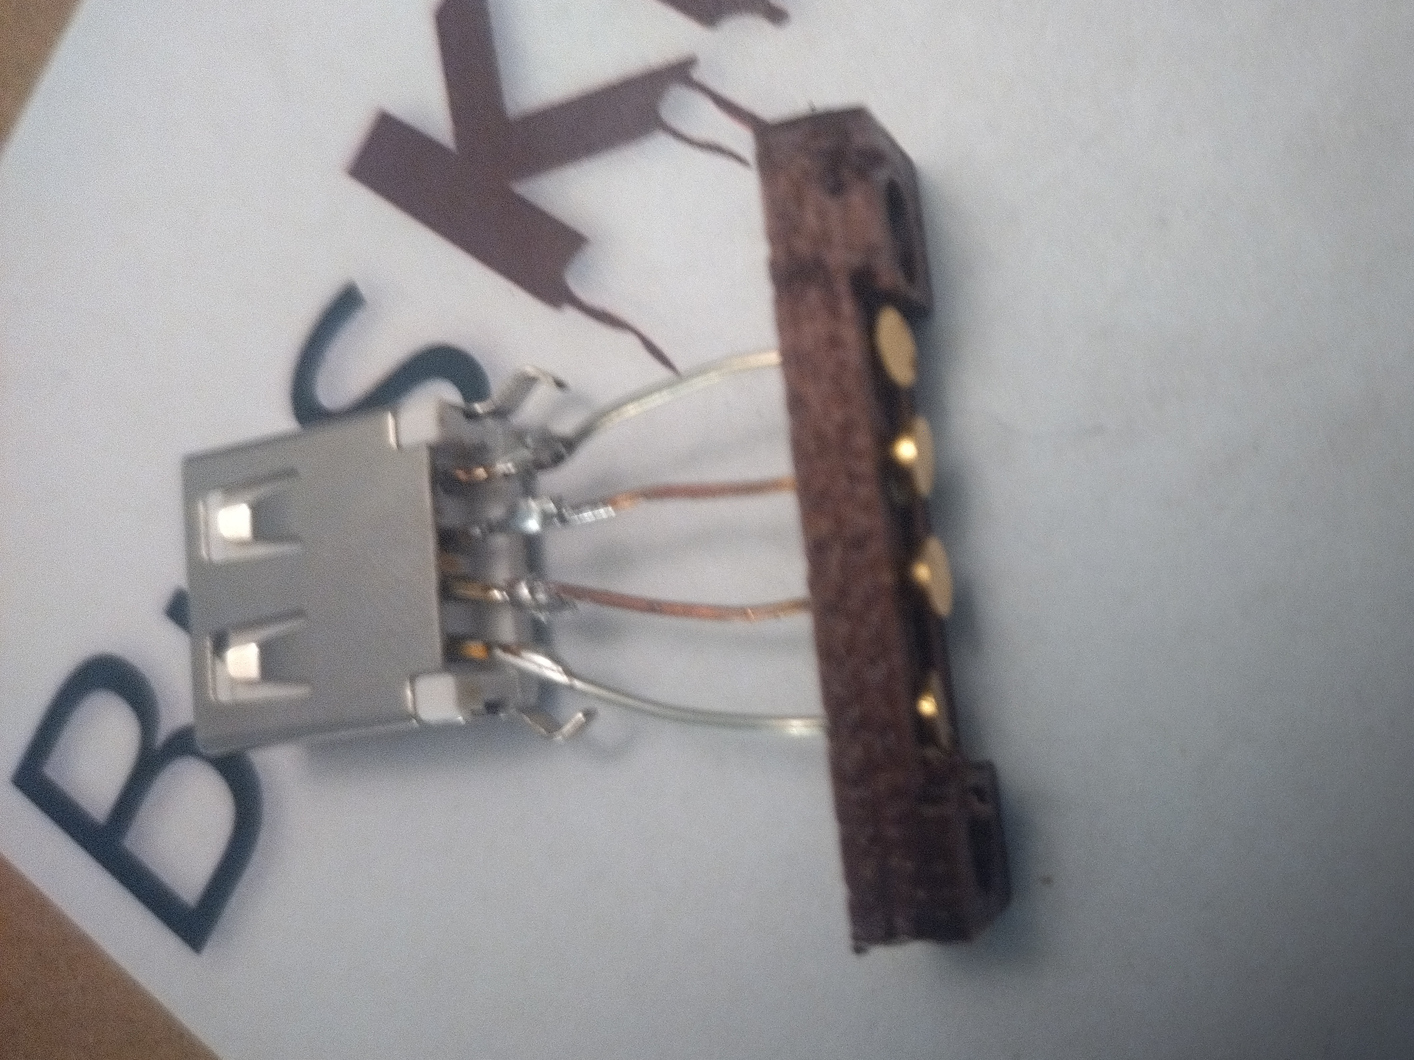
Assemble the Breakaway
Start work on the Breakaway. The Breakaway is an assembly of a Breakaway printed part, 22 awg wire, pogo receptors, USB port (female), and magnets.
- Solder four wires to a USB port. Leave enough room to work with, because you’ll clip the wire.
- Slide the Breakaway printed part on to the wire pushing down so that the wires spread and curve into the part. As you push there will be resistance, and you want to stop when you have the right amount of resistance. Clip the wires at this point so that all of them are level when the part is pushed in.
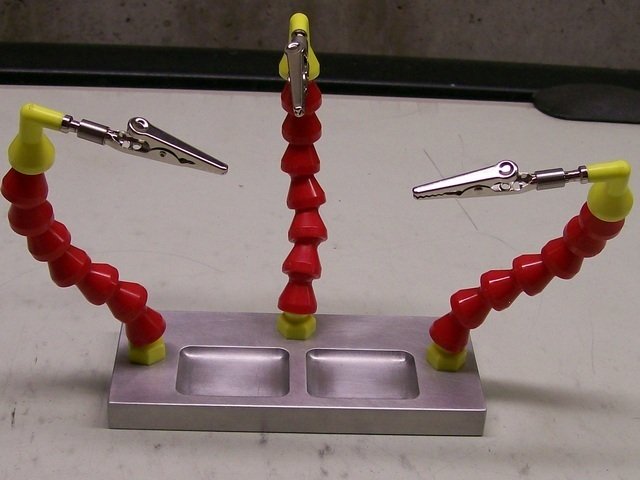
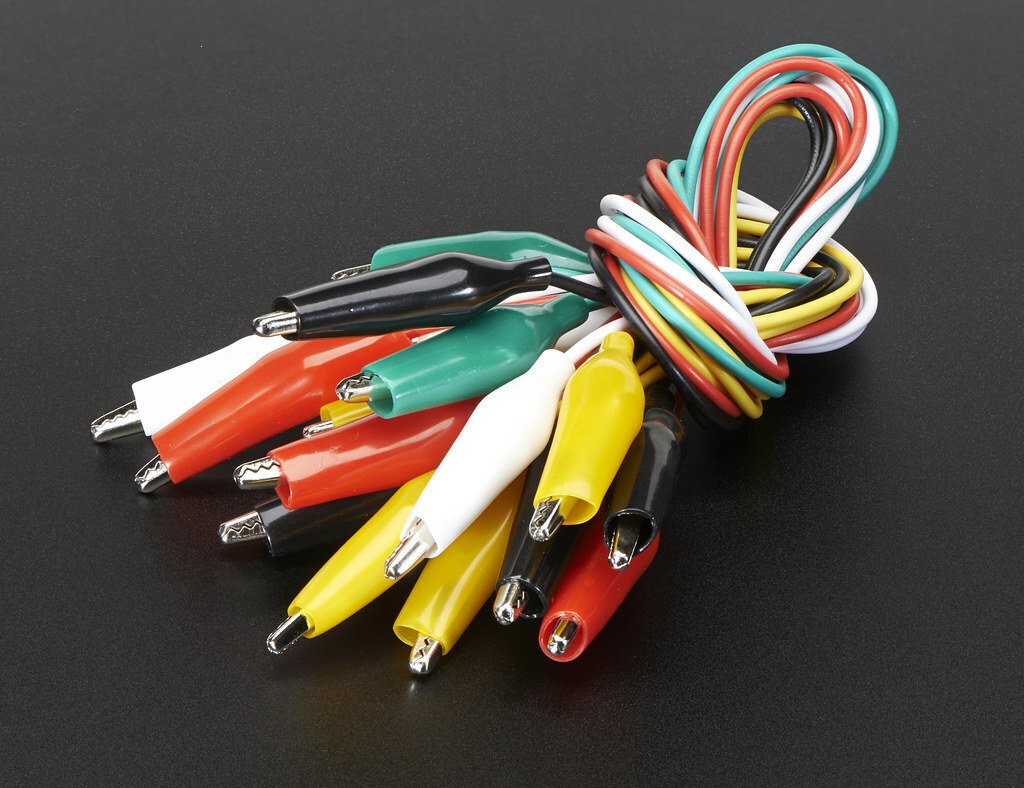
- Keep the part in (although it will move probably) while you solder the pogo recs to the end of the wire. You’re soldering the small end to the wire. It’s tricky to keep the recs in the proper orientation, but understand that they’ll need to be flat against the surface of the print. Note: I use alligator clips and helping hands quite a lot, sometimes two helping hands and alligator clips in my hand, the parts are small and they get hot. Be aware that plastic components will melt or warp as the heat travels up the wire, so work quickly.
- Then when you’re done you push the part up to the pogo receptors. Finagle as you need to to make it so the pogo recs are where they need to be.
- If you’re satisfied, glue in place.
- Glue in the magnets on both sides.
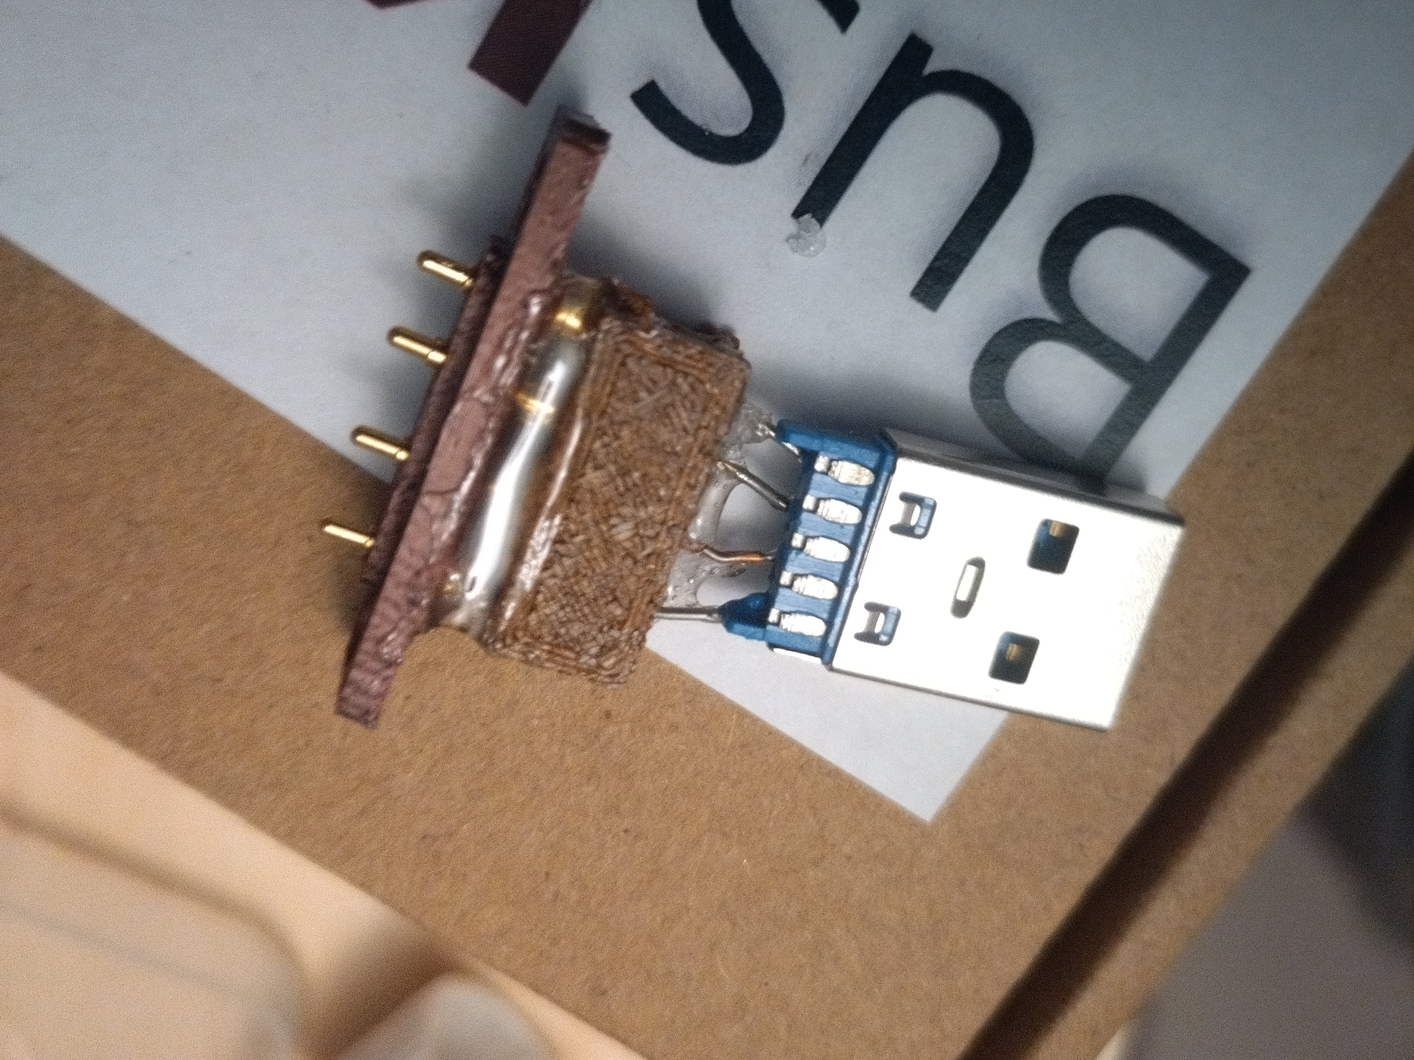
Assemble the Release
Start work on the Release. The Release is an assembly of a Release printed part, 22 awg wire, pogo pins, USB male, Jig, and magnets.
- Insert four wires into four pogo pins. Make sure you have enough to work with, you’ll be clipping them.
- Get the Jig and line up the pogo pins at the edge and glue them there.
- Once the glue is dry, solder the wires to the usb. Note: when soldering, be aware that plastic components will melt or warp as the heat travels up the wire, so work quickly.
- Add the plastic housing. When satisfied, glue in place.
- Glue in the magnets on both sides.
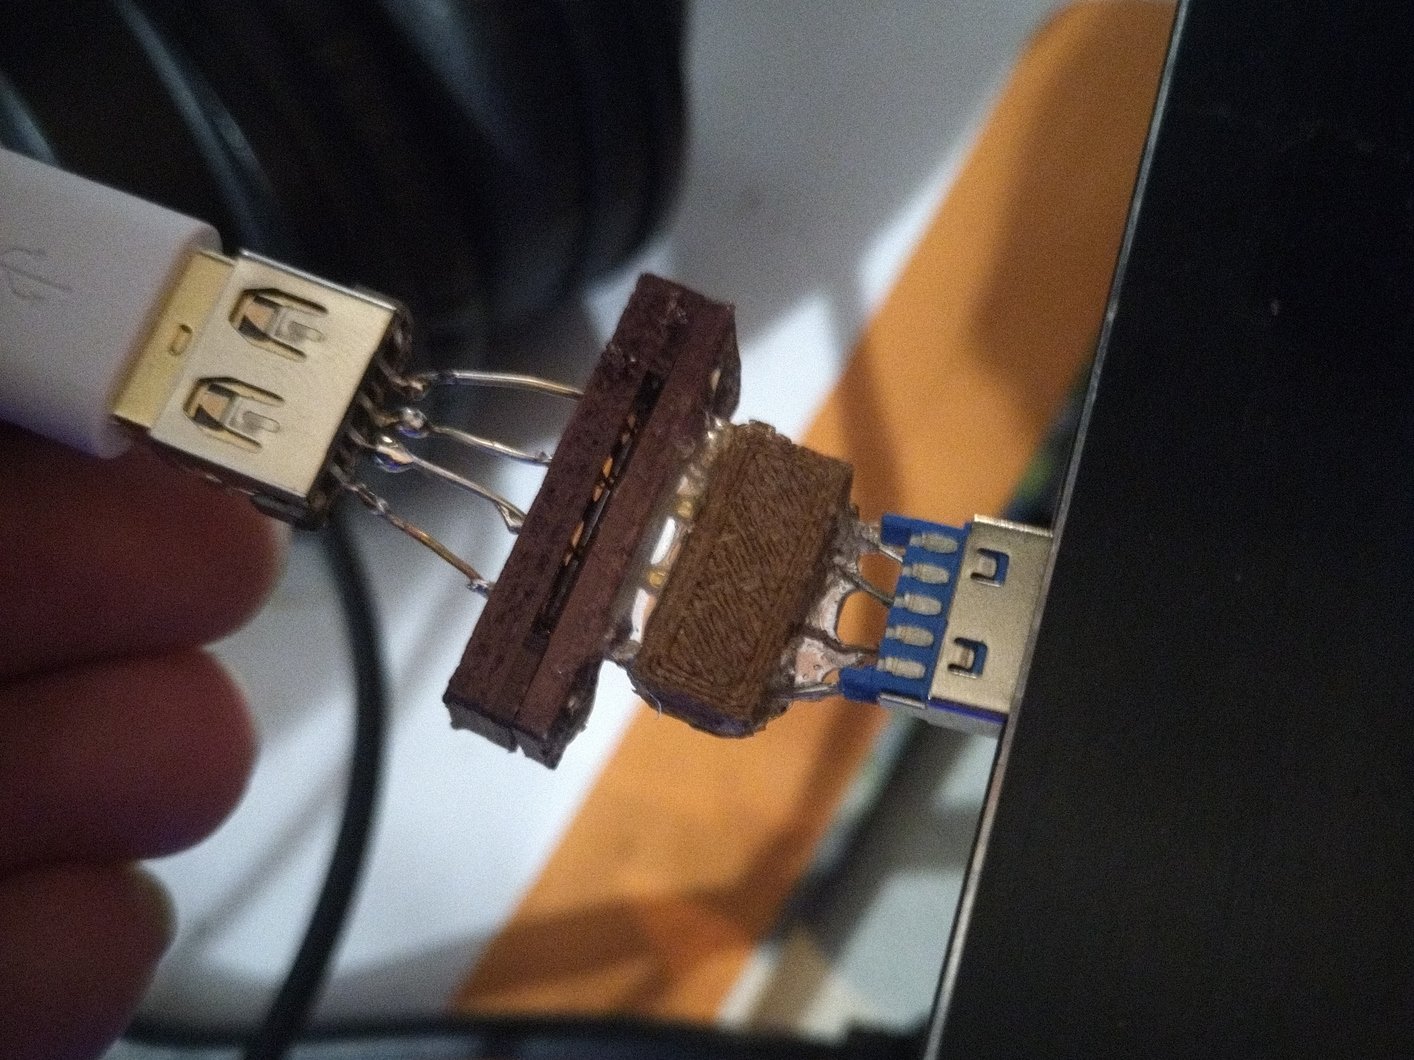
Assemble the BusKill cable
Once you’ve finished assembling the Breakaway and the Release, you can assemble the full BusKill cable.
- Insert your USB storage drive into the USB Extender Cord’s USB Port (female connector).
- Insert the USB Extender Cord’s USB plug (male connector) into the Release of your decoupler.
- Insert the Breakaway of the decoupler into the computer’s USB port.
Test it!
You can now open the BusKill app, press the Arm button, and sever the connection through your home-built BusKill magnetic breakaway decoupler!
If all goes well, your screen will lock when the connection is severed (as shown above).
Protip: for debugging USB connectivity in Linux, it may be helpful to run sudo dmesg -w in a terminal window. This way, if there are any problems, you may receive information about what went wrong.
sudo dmesg --follow
Next Steps
For this 3D-printed BusKill prototype to be suitable for its purpose, there are at least three more necessary changes.
- The design of the faces needs additional elements that will make them have a more secure attachment.
- The design of the face also needs to accommodate slightly larger magnets. It is currently very easy for the cord to detach itself when not intending to.
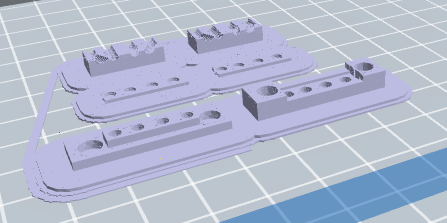
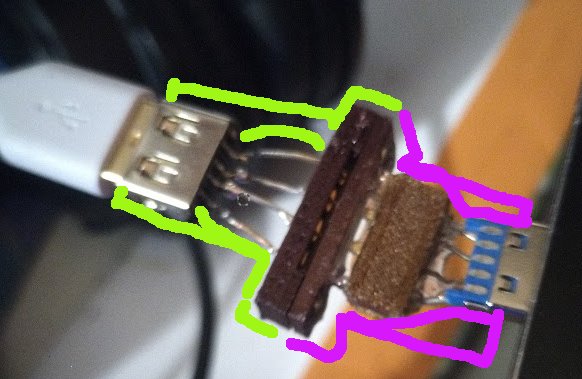
- Finally, of course, the body of the case needs to be designed. In the image below, I have provided a rough outline of how I think the case will be designed.
Acknowledgements
I want to give my deepest thanks to those who support BusKill on OpenCollective, who made it possible for me to purchase the materials necessary for this work.
Donate
If you appreciate our progress on 3D-printable BusKill cables, please consider making a donation.
Hardware Development is not free. Expenses to improve this prototype include materials like 3D printing PLA Filament, glue, solder and components like wires, USB ports, pogo pins, magnets etc. All of our expenses are transparently published on Open Collective.
Your contribution (of any amount) is greatly appreciated! Thank you <3
If you’d like to purchase a BusKill cable, click here.