Disclaimer: While we gave samxplogs a free BusKill Kit for review, we did not pay them nor restrict their impartiality and freedom to publish an independent review. We did require them to make the video open-source as a condition of receiving this free review unit. The above video is licensed CC BY-SA; you are free to redistribute it. If you are a video producer and would like a free BusKill Kit for review, please contact us
Want to see BusKill in-action? Checkout these video demos made by YouTuber @samxplogs showing the BusKill cable in-use on several supported platforms:
Disclaimer: While we gave samxplogs a free BusKill Kit for review, we did not pay them nor restrict their impartiality and freedom to publish an independent review. We did require them to make the video open-source as a condition of receiving this free review unit. The above video is licensed CC BY-SA; you are free to redistribute it. If you are a video producer and would like a free BusKill Kit for review, please contact us
Cette mise à jour contient un déballage vidéo du kit BusKill.
Vous voulez savoir exactement ce que vous obtenez lorsque vous achetez un kit Buskill sur ce site Web? Découvrez la vidéo ci-dessous réalisée par YouTuber @samxplogs:
Avis de non-responsabilité: Bien que nous ayons donné à Samxplog un kit Buskill gratuit pour examen, nous ne les avons pas payés ni limités leur impartialité et leur liberté de publier une revue indépendante. Nous les avons obligées à faire de la vidéo ouverte comme une condition de réception de cette unité d’examen gratuite. La vidéo ci-dessus est licenciée CC BY-SA; Vous êtes libre de le redistribuer. Si vous êtes un producteur vidéo et que vous souhaitez un kit Buskill gratuit pour examen, veuillez nous contacter
We don’t consider hologram stickers or tamper-evident tape/crisps/glitter to be sufficient solutions to supply-chain security. Rather, the solution to these attacks is to build open-source, easily inspectable hardware whose integrity can be validated without damaging the device and without sophisticated technology.
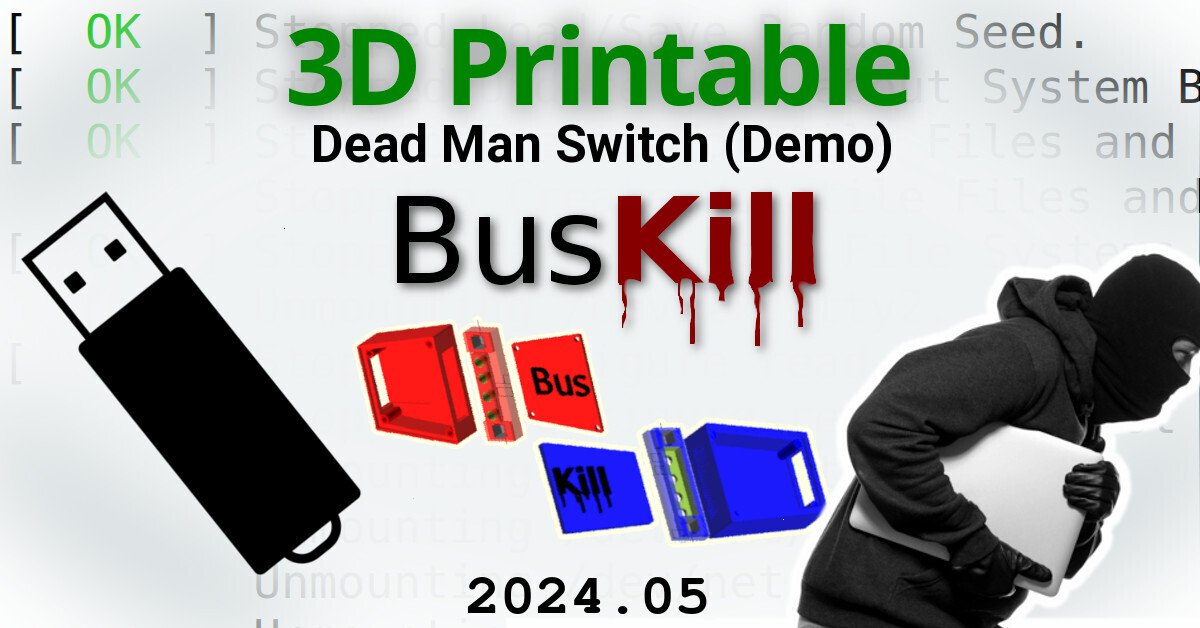
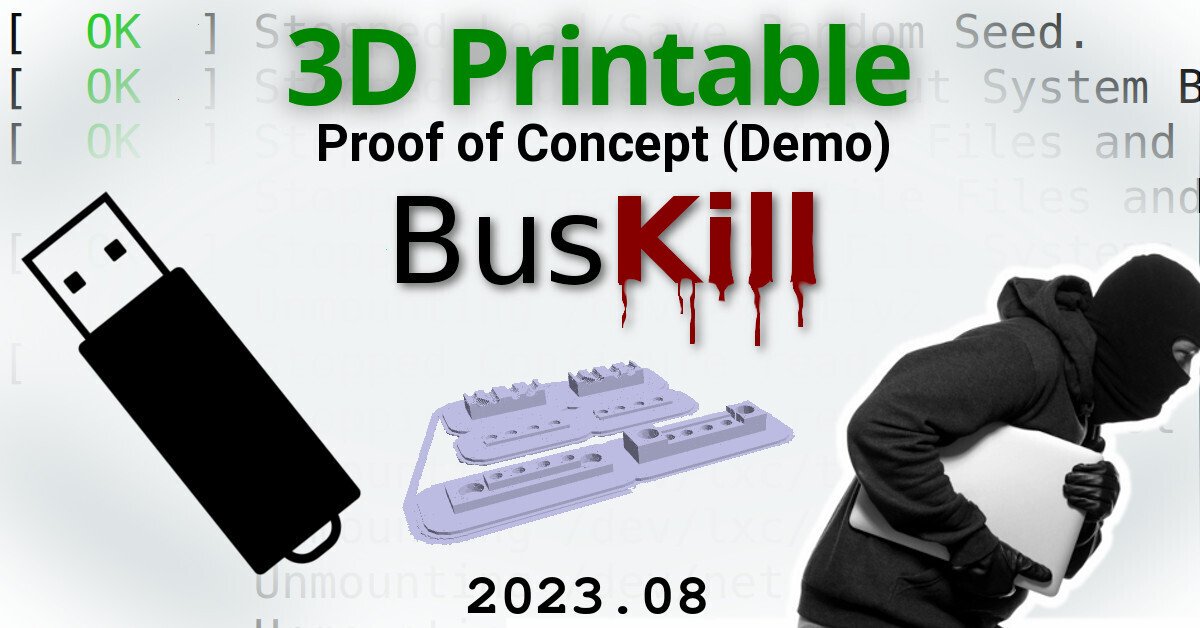
Actually, the best way to confirm the integrity of your hardware is to build it yourself. Fortunately, BusKill doesn’t have any circuit boards, microcontrollers, or silicon; it’s trivial to print your own BusKill cable — which is essentially a USB extension cable with a magnetic breakaway in the middle
Mitigating interdiction via 3D printing is one of many reasons that Melanie Allen has been diligently working on prototyping a 3D-printable BusKill cable this year. In this article, we hope to showcase her progress and provide you with some OpenSCAD and .stl files you can use to build your own version of the prototype, if you want to help us test and improve the design.
In our last update, I showed a video demo where I succesfully triggered a lockscreen using a BusKill prototype without the 3D-printed body for the case and N35 disc magnets. I realized that the N35 disc magnets were not strong enough. In this update, I show a demo with the prototype built inside a 3D-printed case and with (stronger) N42 and N52 cube magnets.
We don’t consider hologram stickers or tamper-evident tape/crisps/glitter to be sufficient solutions to supply-chain security. Rather, the solution to these attacks is to build open-source, disassembleable, and easily inspectable hardware whose integrity can be validated without damaging the device and without sophisticated technology.
Actually, the best way to confirm the integrity of your hardware is to build it yourself. Fortunately, printing your own circuit boards, microcontroller, or silicon has a steeper learning curve than a BusKill cable — which is essentially just a USB extension cable with a magnetic breakaway in the middle.
Mitigating interdiction via 3D printing is one of many reasons that Melanie Allen has been diligently working on prototyping a 3D-printable BusKill cable this year. In this article, we hope to showcase her progress and provide you some OpenSCAD and .stl files so you can experiment with building your own and help test and improve our designs.
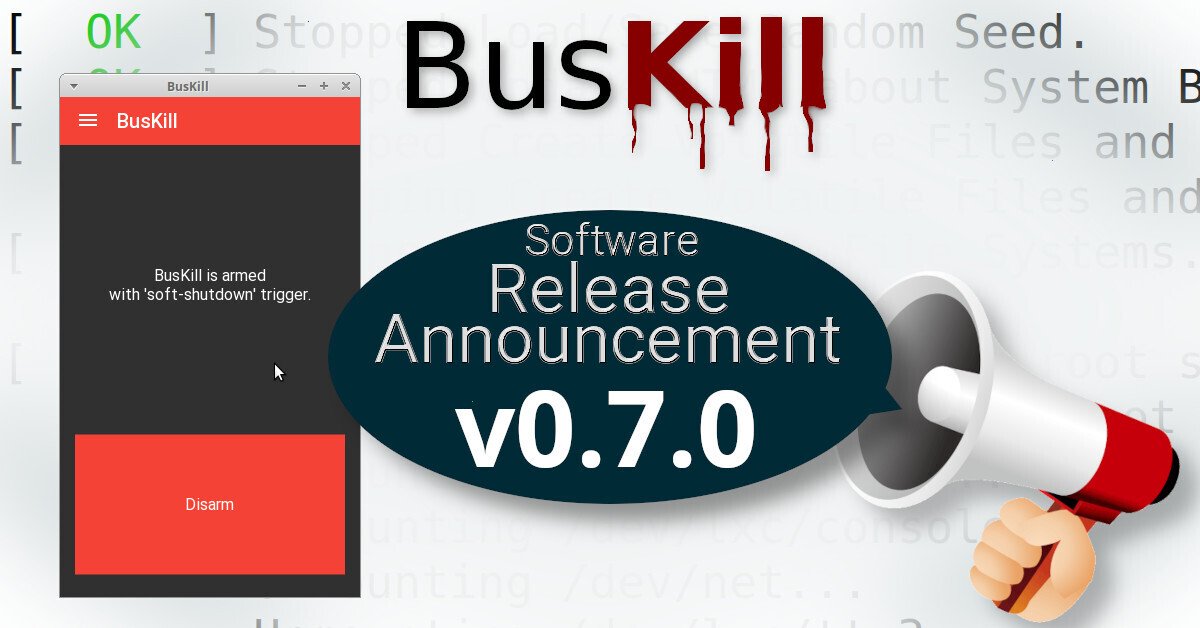
Transparency is important. As we launch our crowdfunding campaign (making the BusKill cable available for purchase for the first time), we wanted to provide a clear video demo showing the cable in-use in all tested platforms:
While you could use the BusKill Linux .AppImage release with a second USB drive while using TAILS, the recommended solution for security-critical users is to just use the BusKill cable in-line with the TAILS live USB drive. This takes advantage of
Due to the design of QubesOS (dom0, sys-usb, etc), the BusKill GUI app does not support QubesOS. Instead, QubesOS support is implemented using the qubes-rpc and a set of scripts stored in sys-usb and dom0.
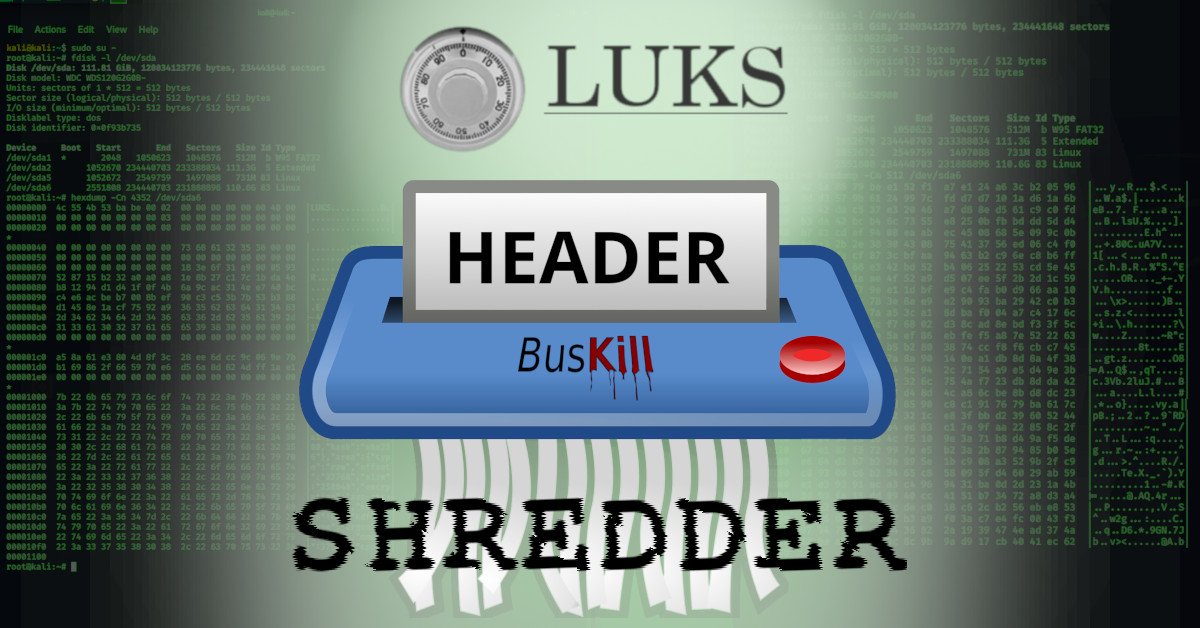
This post will describe how to add a trigger that initiates a “self-destruct” sequence when your BusKill laptop kill cord’s connection is severed–rendering your data permanently & irrevocably destroyed in the event that your laptop were physically separated from you (ie: by a snach-and-run thief).
Many people were disappointed when the original post introducing BusKill only alluded to a self-destruct trigger, without actually describing how to use it with BusKill. This was done for two reasons:
Most people probably don’t actually want an accidental false-positive to destroy all their data and
A self-destruct sequence should be taken seriously. Its implementation should be thoroughly thought-out, tested, and forensically analyzed
This article will provide that thorough analysis and explain to the reader how to implement a self-destruct trigger with BusKill on linux machines that have FDE with LUKS.