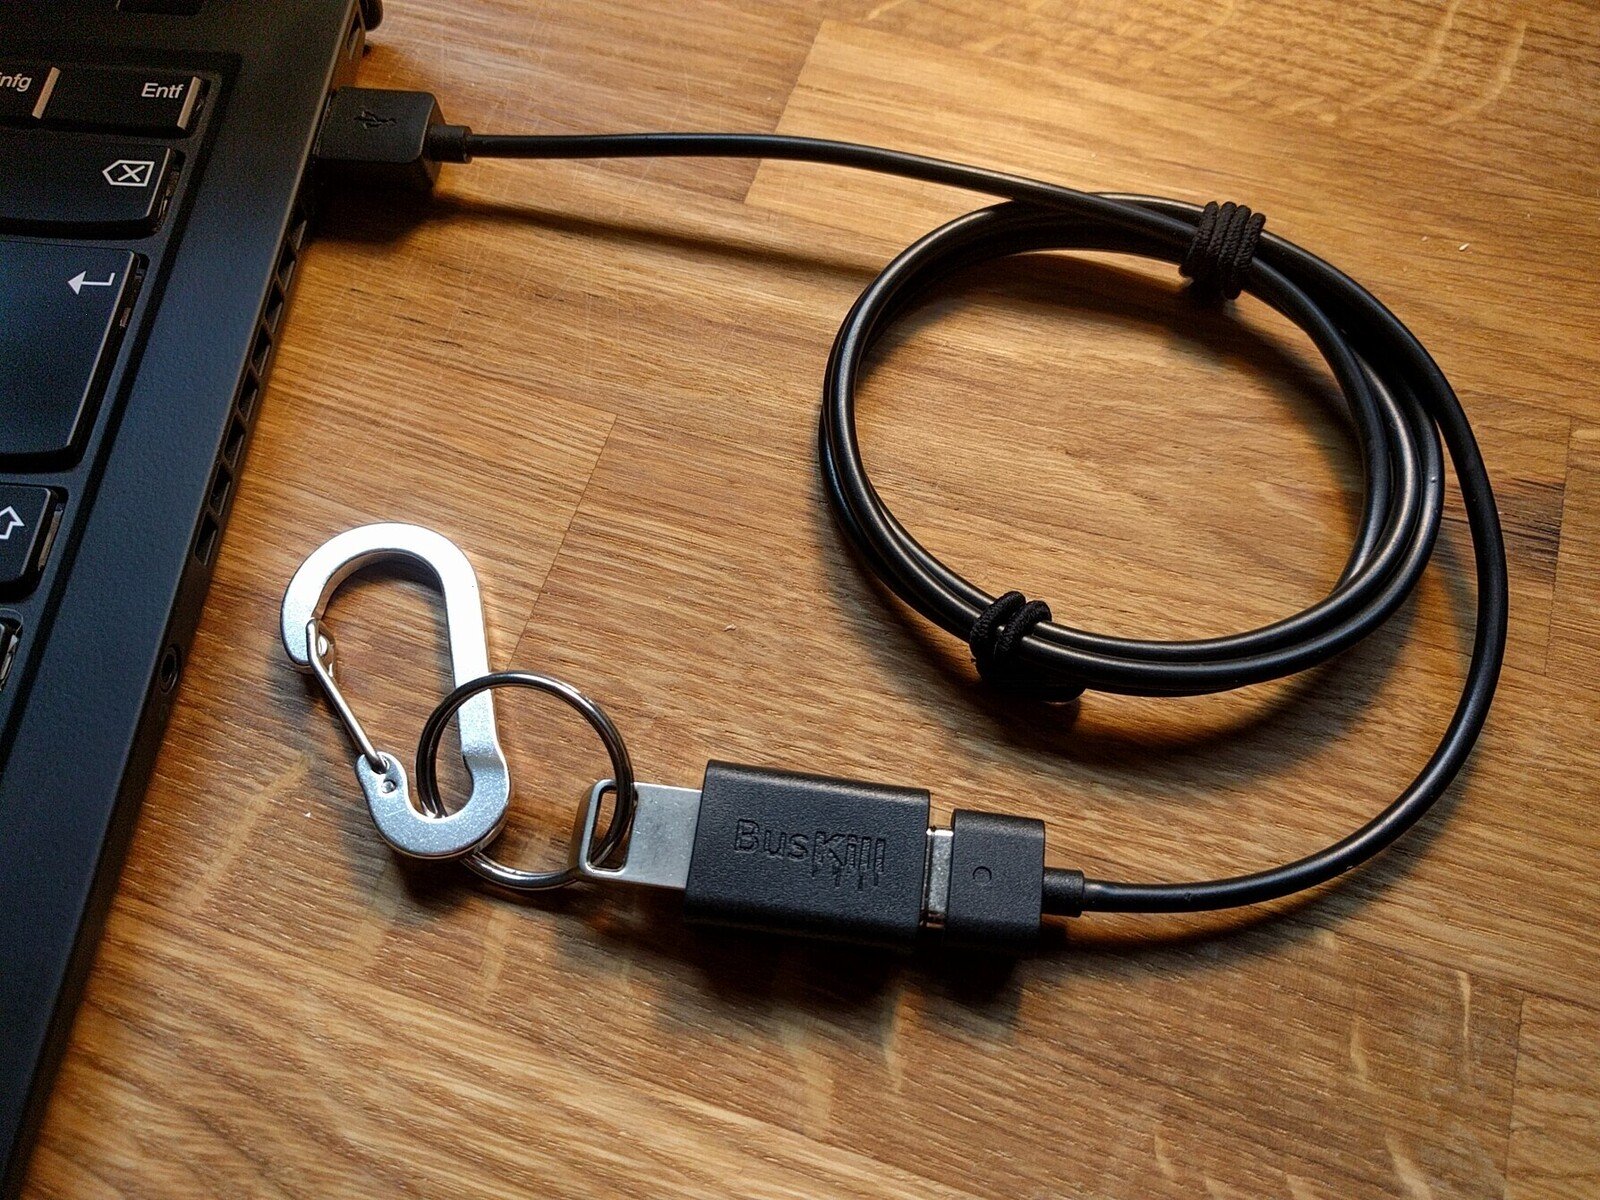
Thank you for buying a BusKill cable! Your purchase goes to funding continued development of our open-source hardware and software project.
Getting Started
Please follow the below steps to get started using your BusKill cable.
Step 1: Insert the BusKill Cable
To begin using your BusKill cable, first insert the assembled BusKill cable into your machine’s USB port
Step 2: Install & Open the BusKill App
Install the BusKill software. Click below on your Operating System to see the installation instructions for your platform.
Windows
Open the BusKill Drive
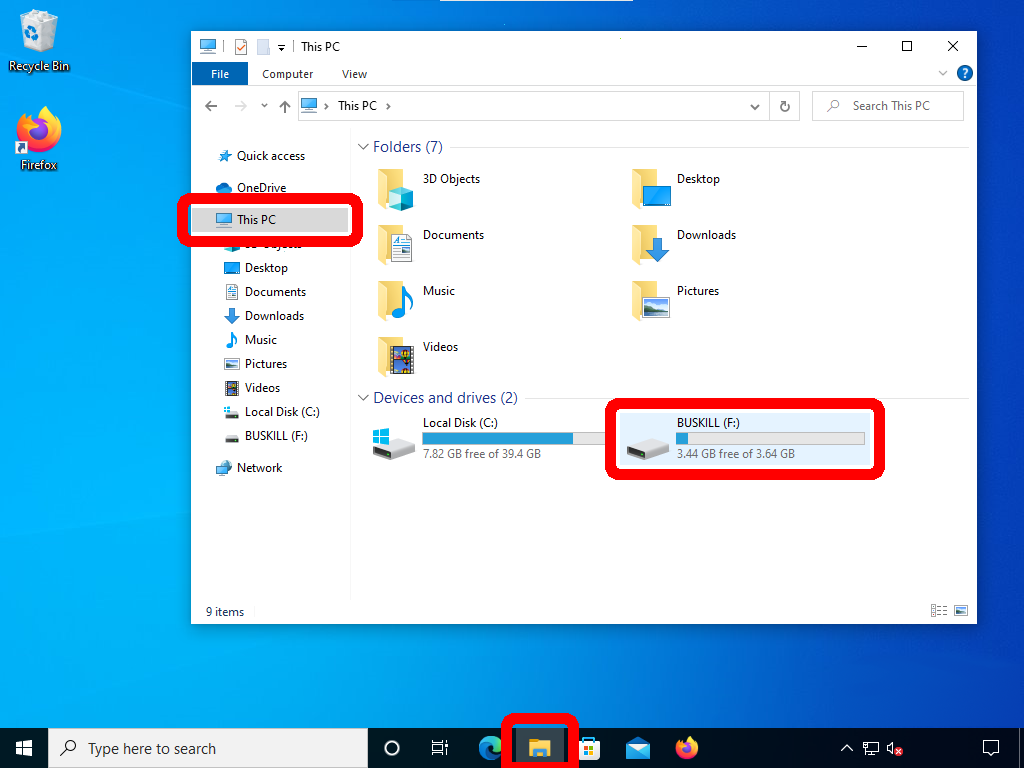
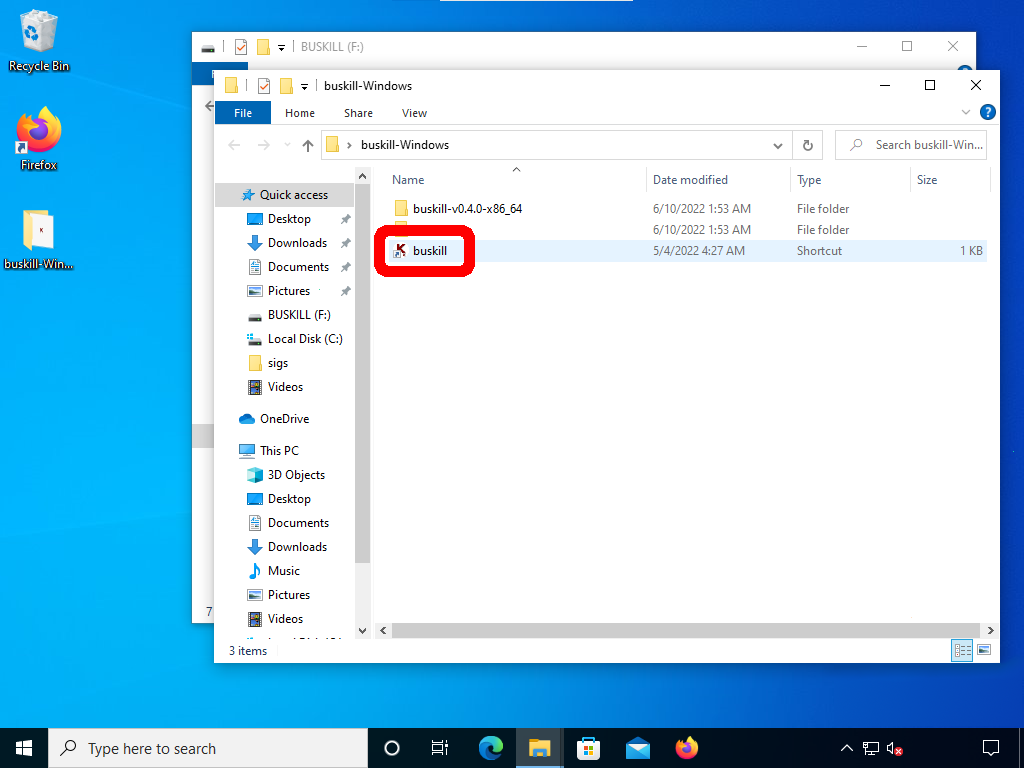
After inserting the BusKill cable, open Windows File Explorer. Under “This PC” -> “Devices and drives“, you should see the “BUSKILL” drive. Double-click it.
Install
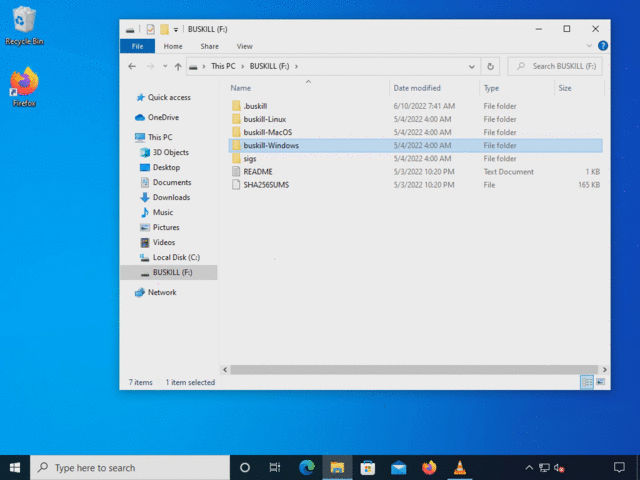
Click and drag the folder named “buskill-Windows” from the drive to your Desktop.
Open Folder
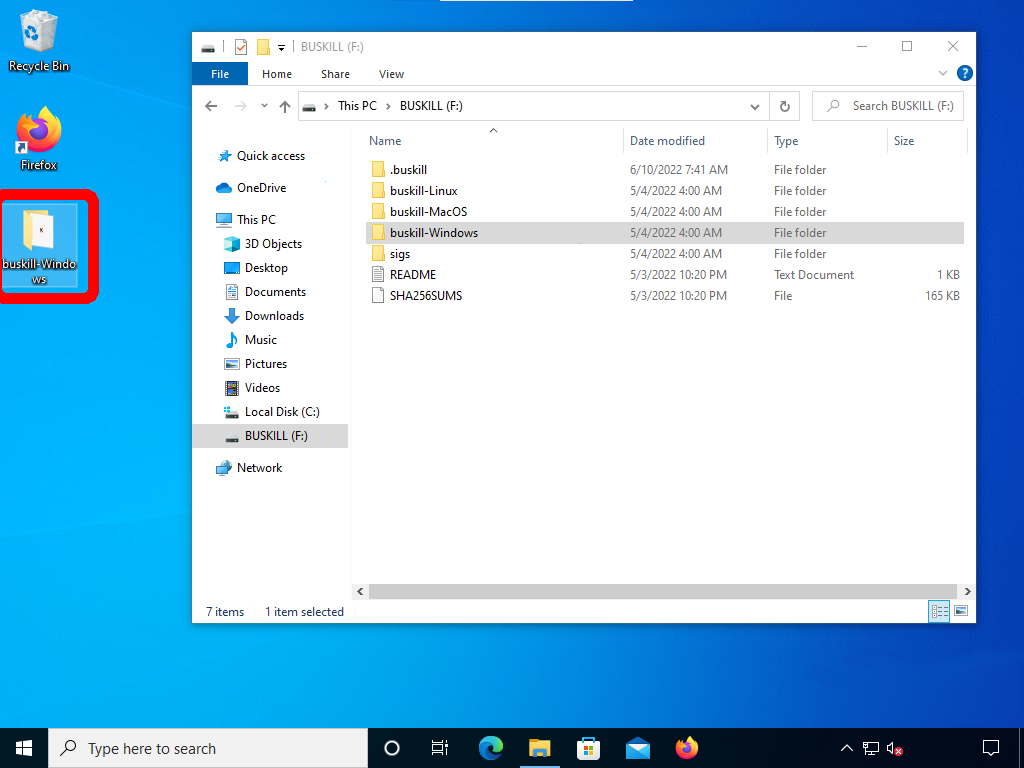
When the copy completes, double-click the new “buskill-Windows” folder on your desktop
Open App
Double-click the “buskill” shortcut to launch the BusKill App
MacOS
Open the BusKill Drive
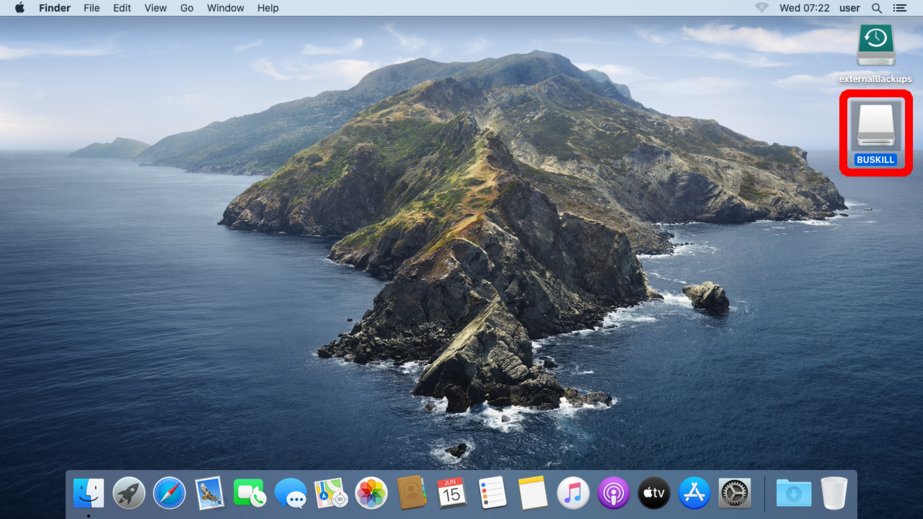
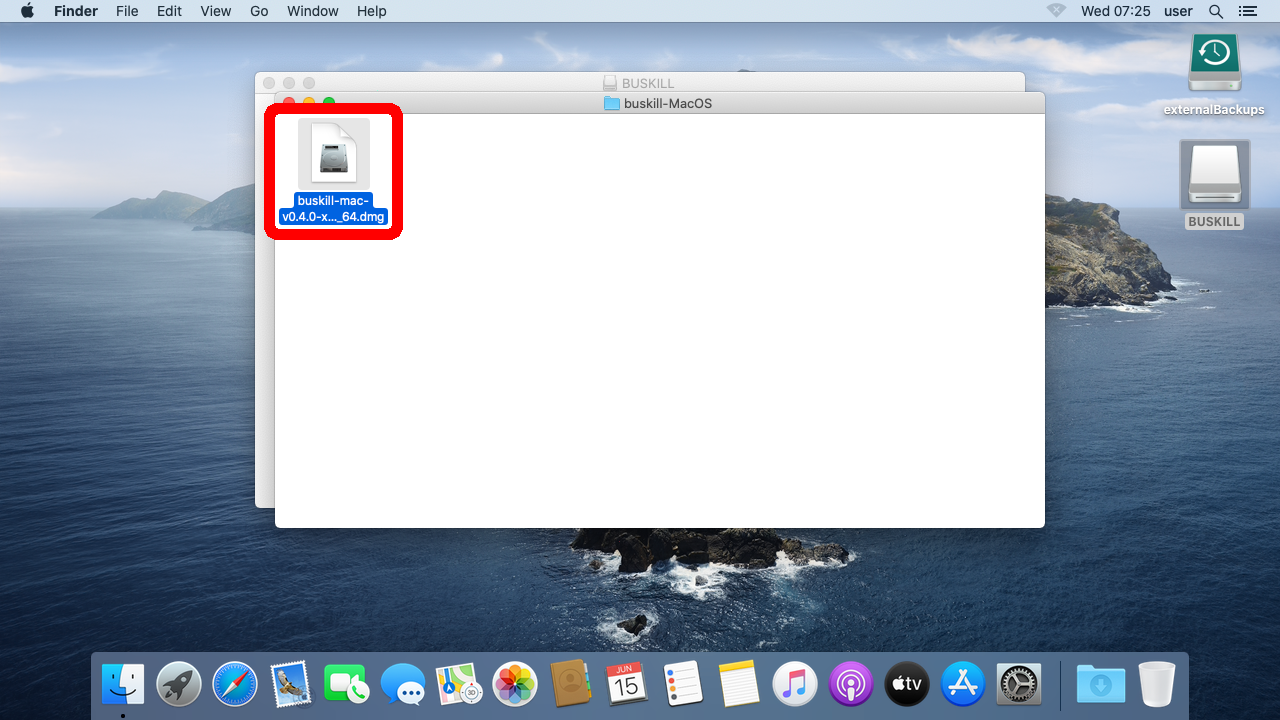
After inserting the BusKill cable, double-click on the “BUSKILL” drive on your Desktop.
Open Folder
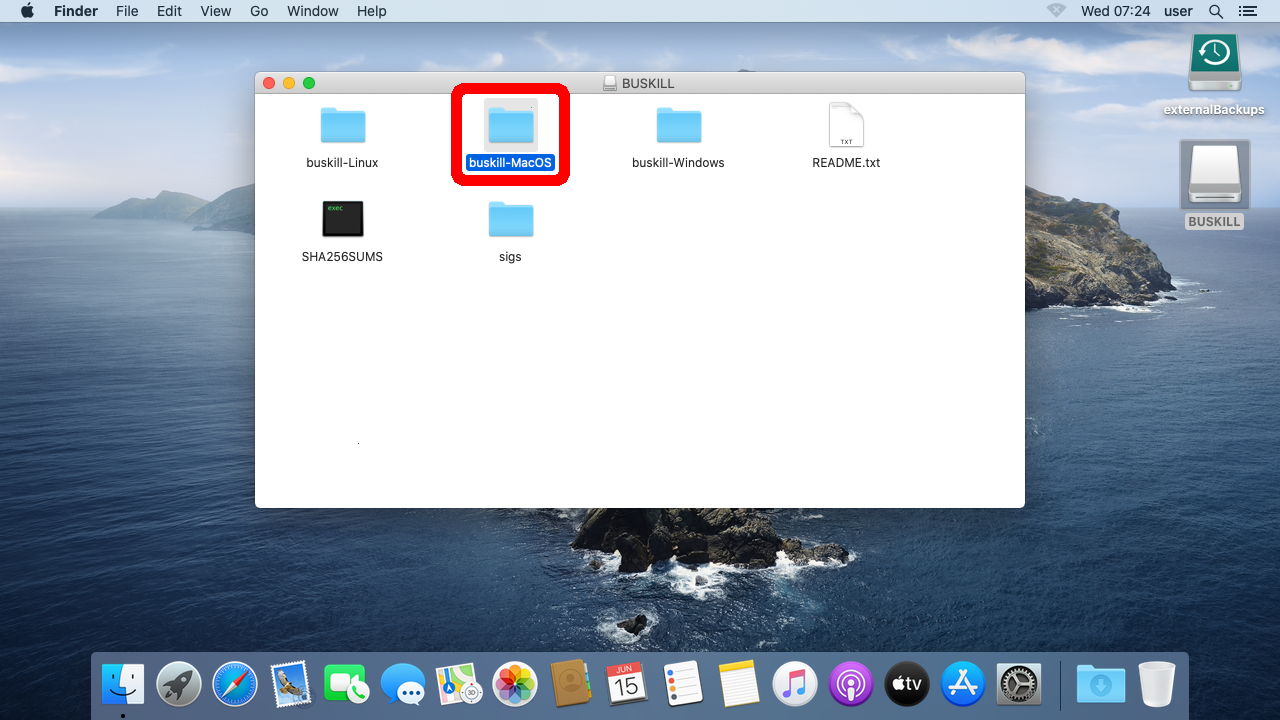
Double-click the “buskill-MacOS” folder.
Open Image
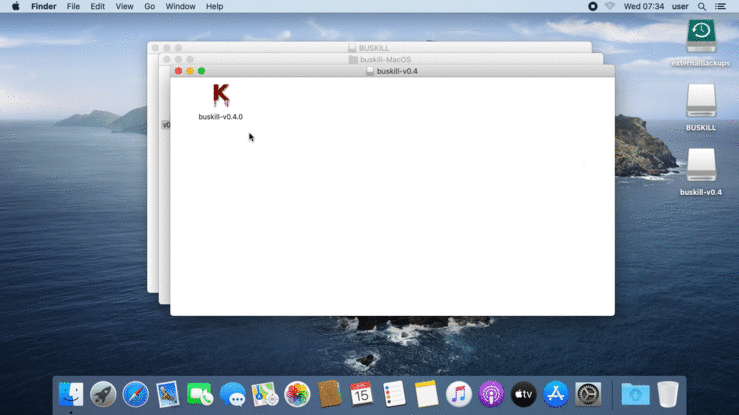
Double-click the “.dmg” file.
Install
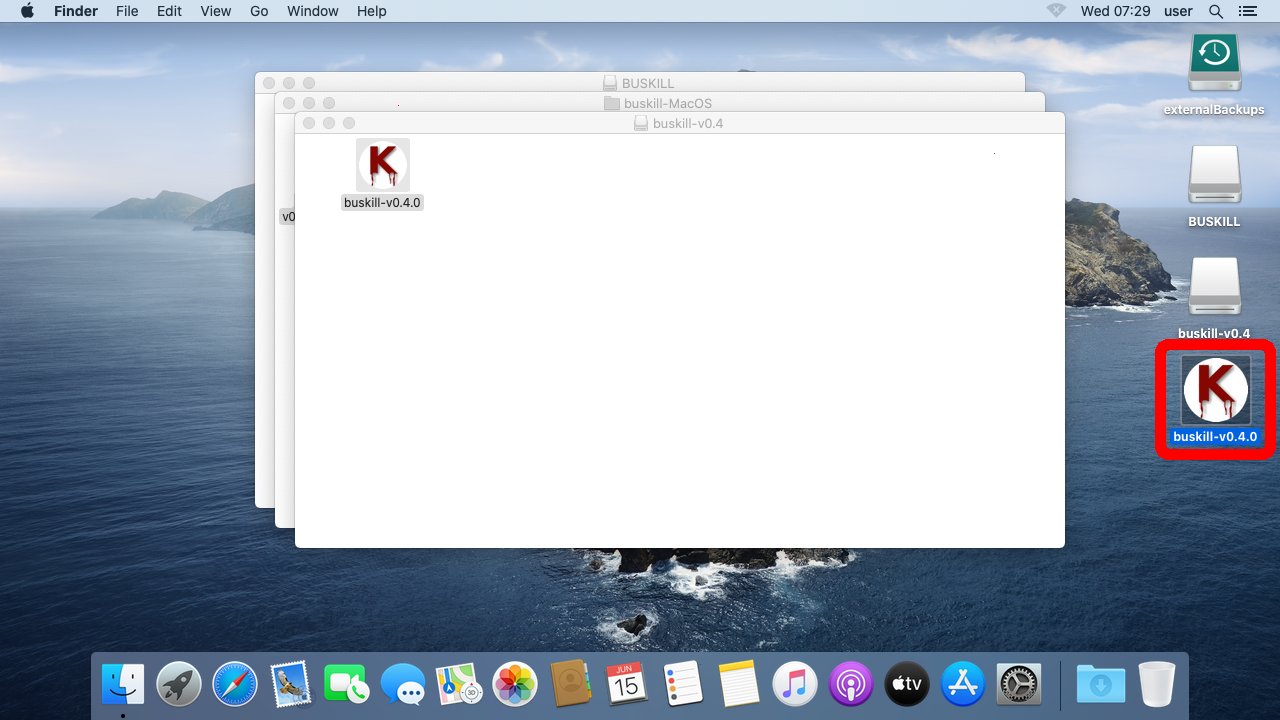
Click and drag the buskill app to your Desktop.
Open App
Double-click the “buskill” icon on your Desktop to launch the BusKill App
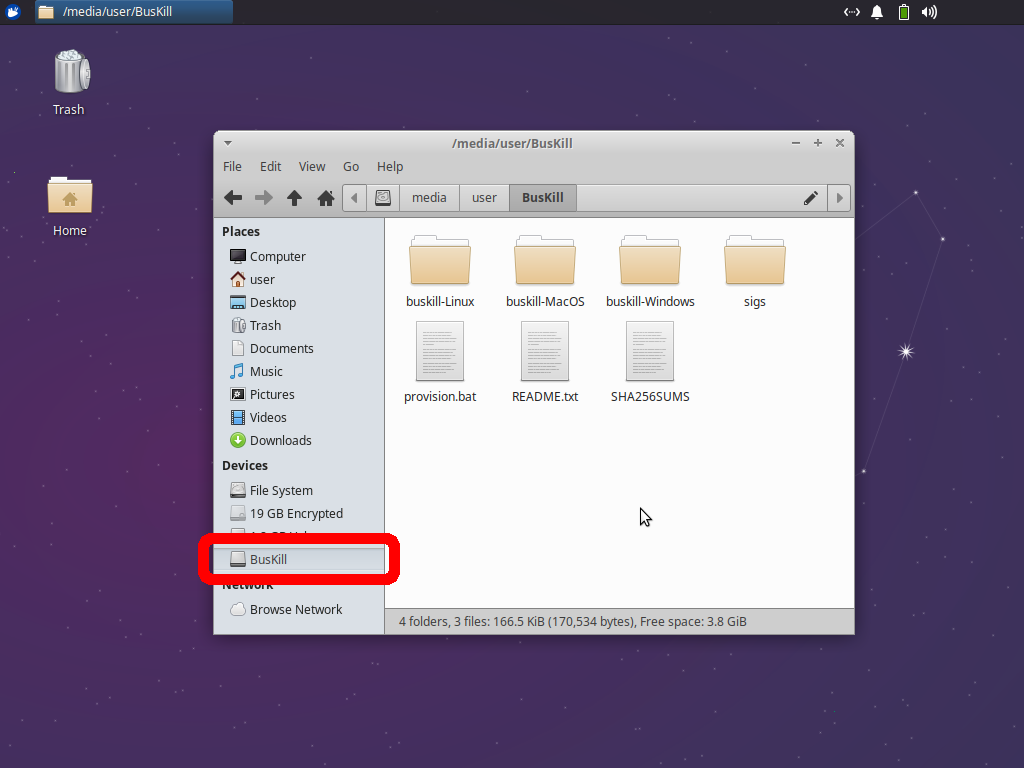
Linux
Open the BusKill Drive
After inserting the BusKill cable, open the File Manager. Under “Devices” click on the “BusKill” drive.
Install
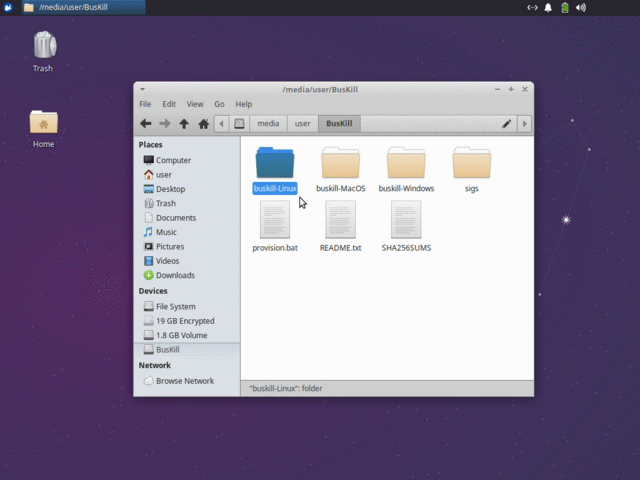
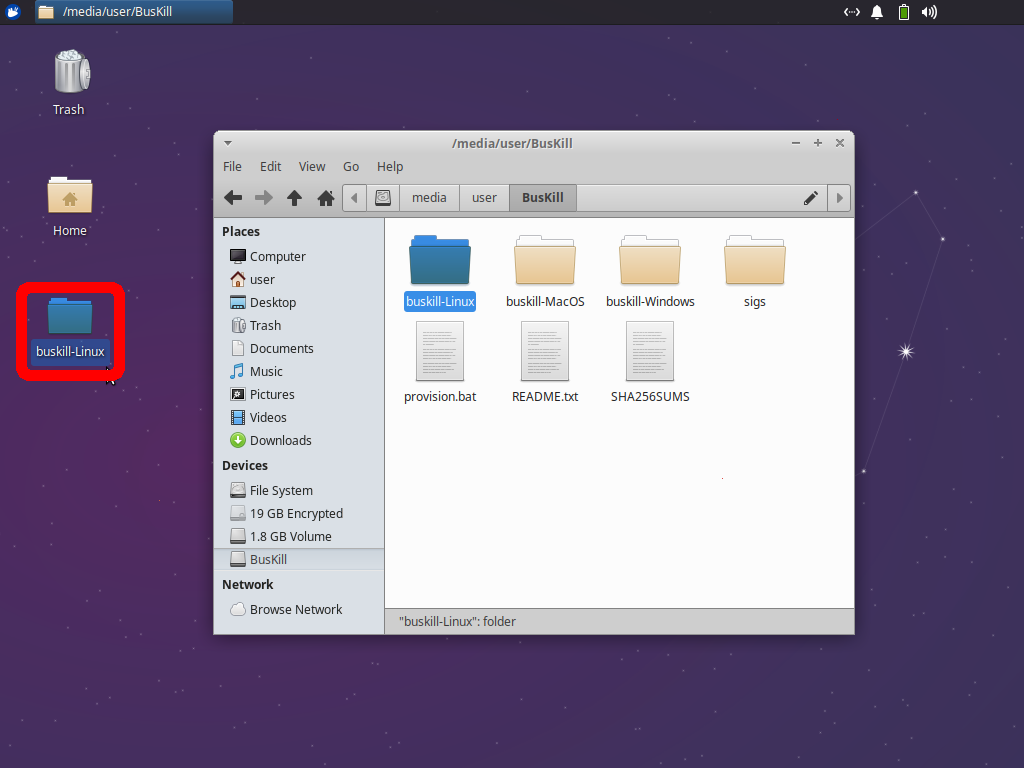
Click and drag the folder named “buskill-Linux” from the drive to your Desktop.
Open Folder
When the copy completes, double-click the new “buskill-Linux” folder on your desktop
Set Execute Permissions
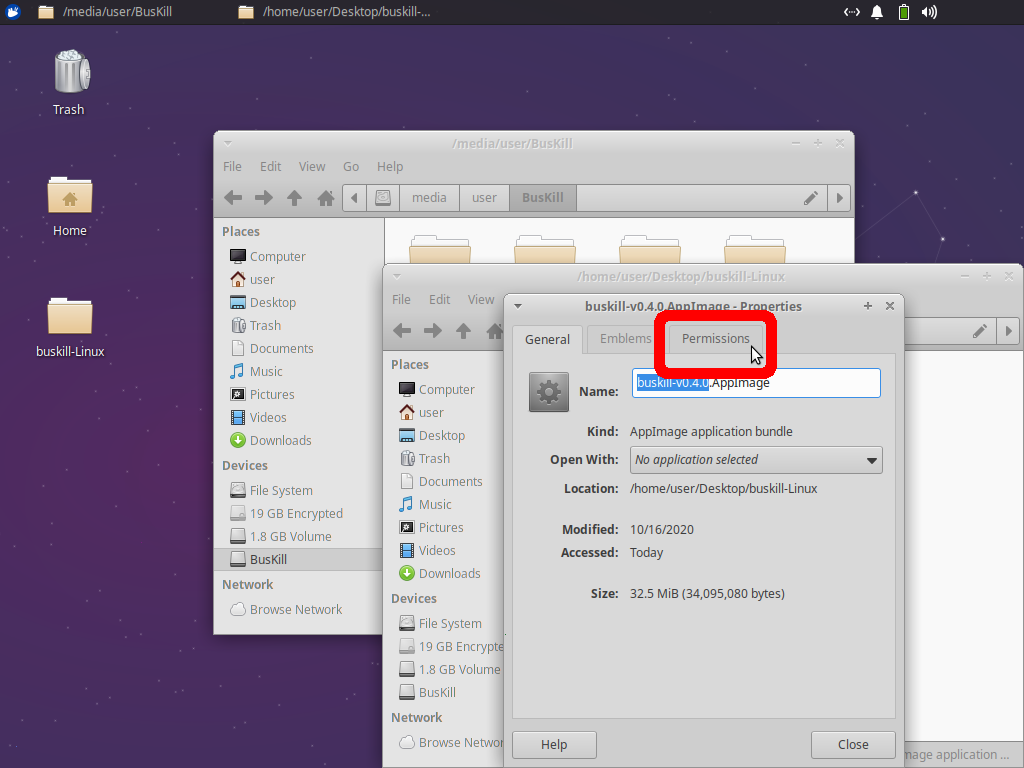
In the new File Manager window, right-click on the BusKill .AppImage file and click “Properties...“.
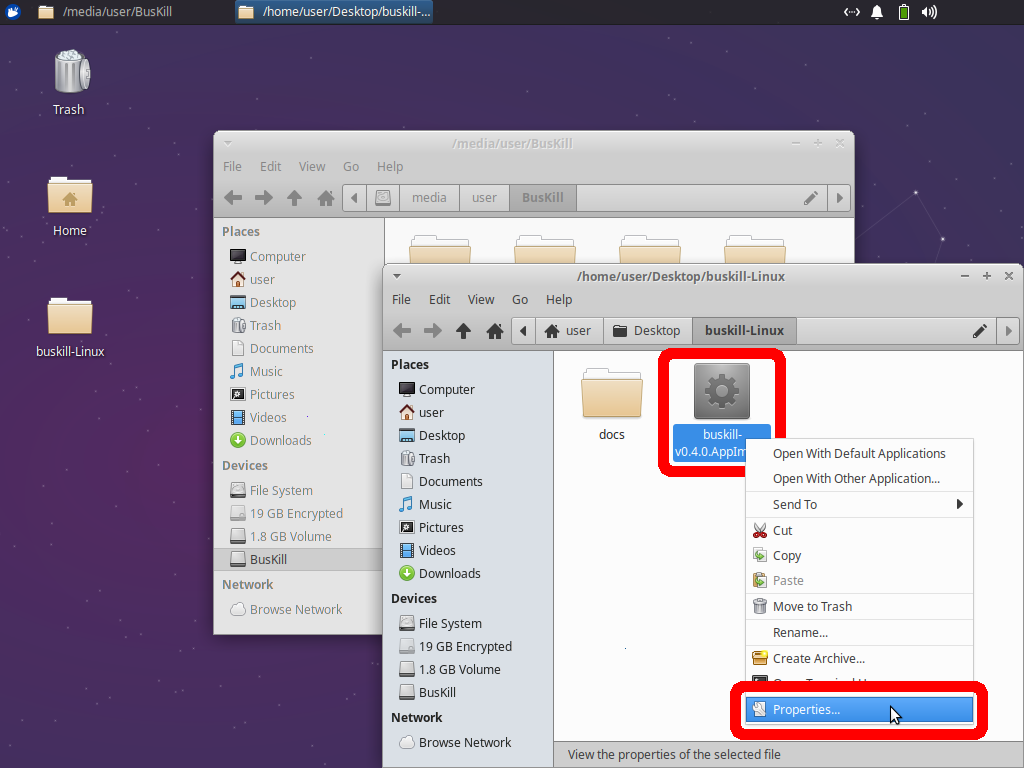
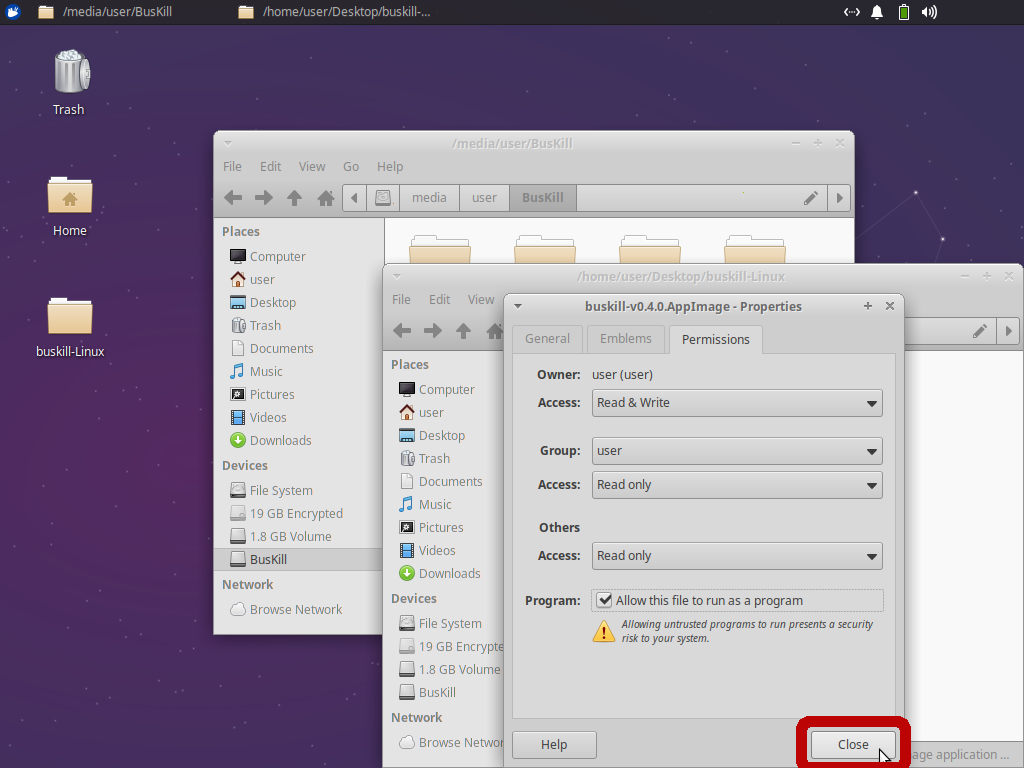
Click the “Permissions” tab, and check the box “Allow this file to run as a program“, and click “Close”

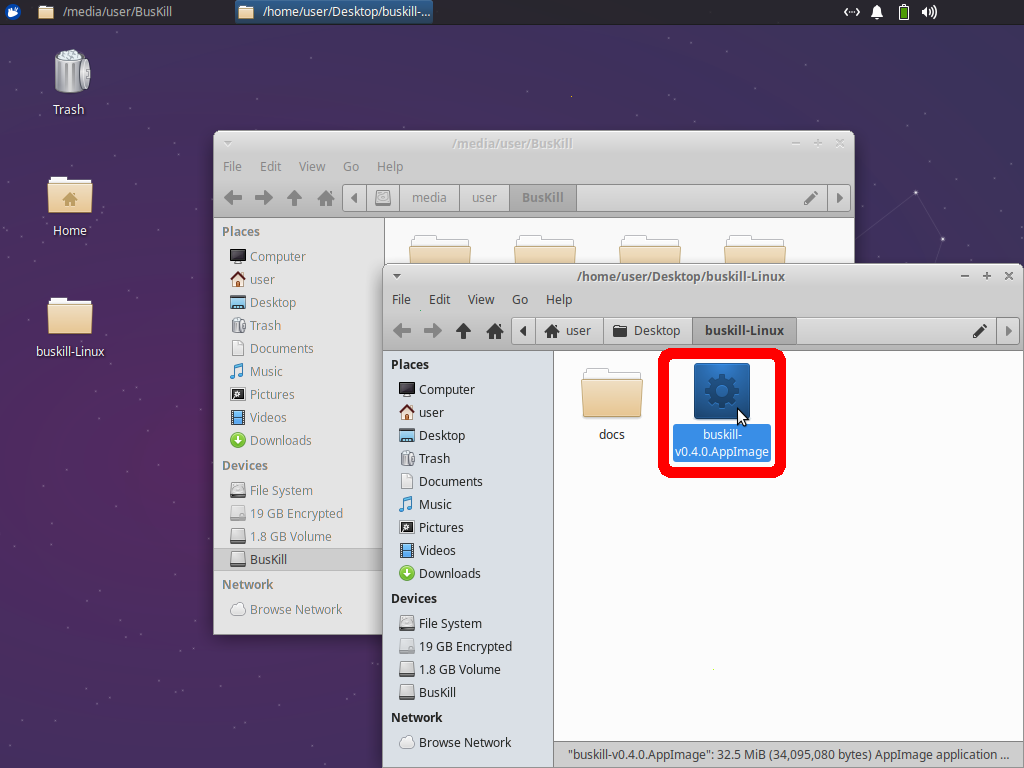
Open App
Now, double-click the BusKill .AppImage to launch the BusKill App.
ⓘ Note: If you purchased the BusKill Kit, then the BusKill software is included with your purchase (see above).
While it’s possible to download the latest version from GitHub, we recommend installing it directly from the USB drive and then using the in-app update button, which is more secure.
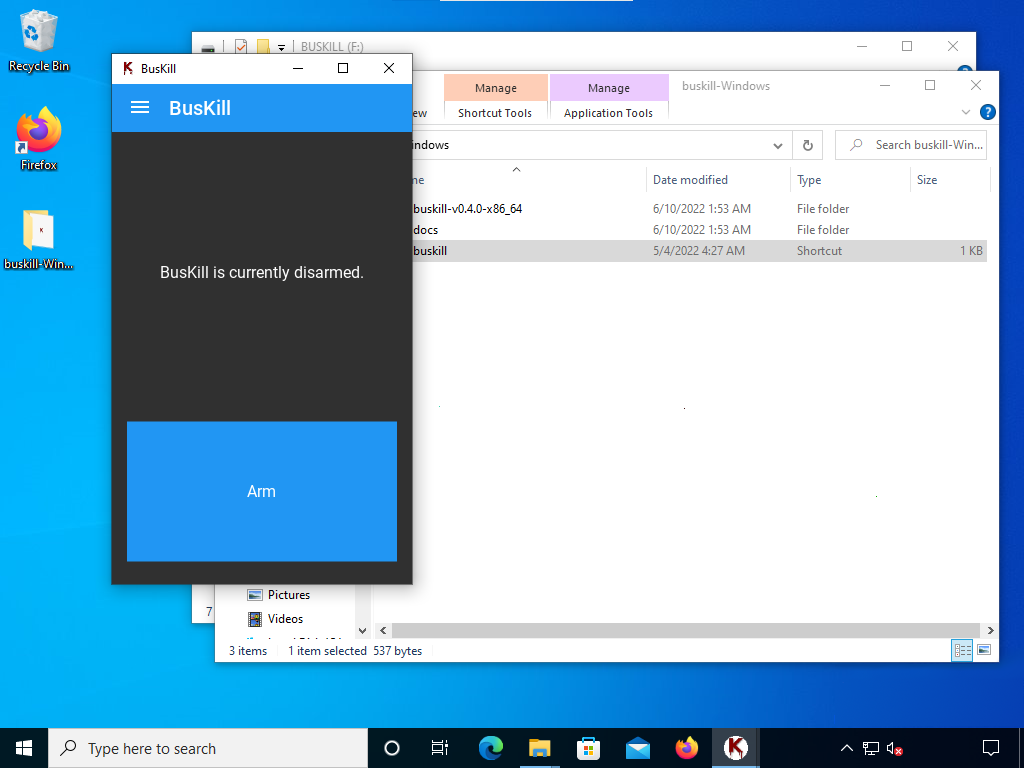
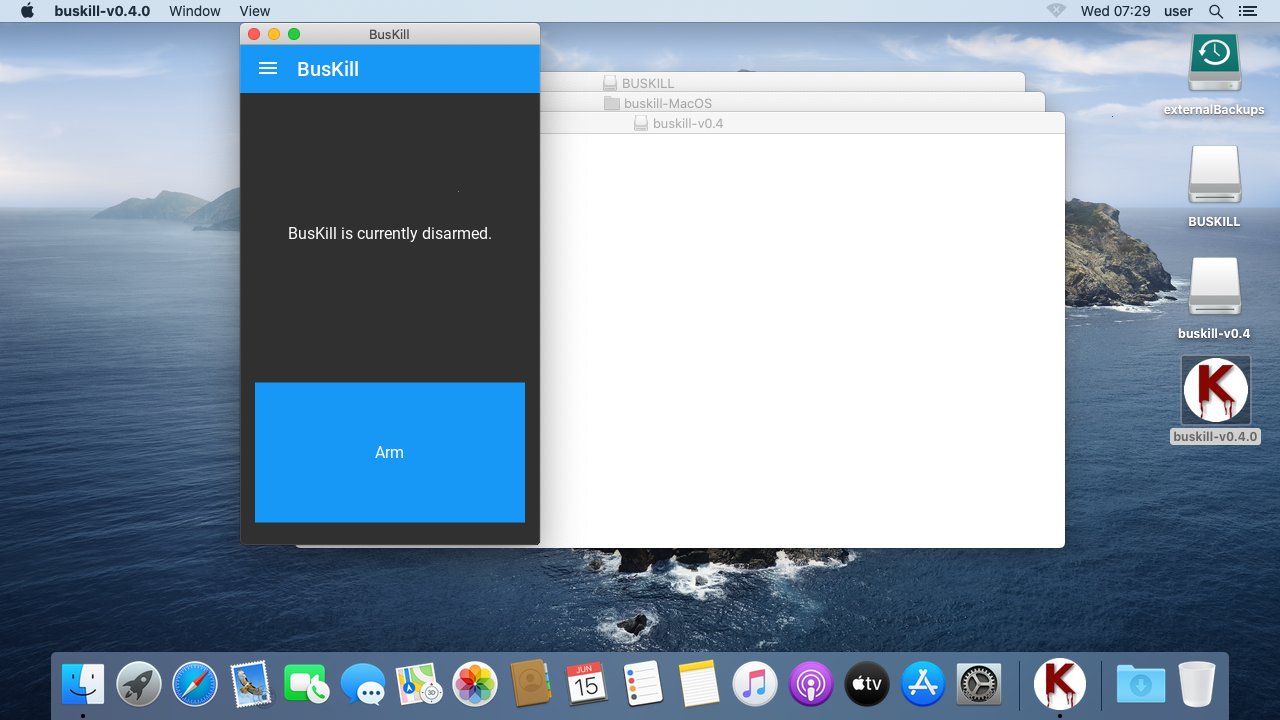
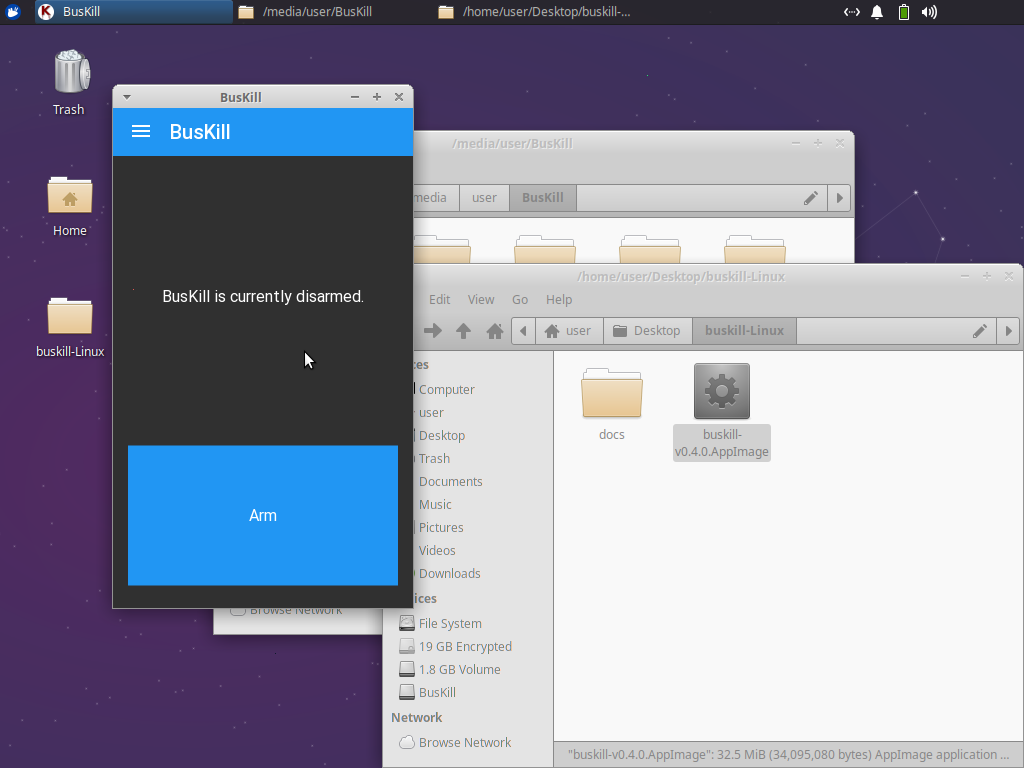
Step 3: Click the “Arm” button
Click the “Arm” Button in the app to arm BusKill.
For more information on how to “Arm” and “Disarm” the BusKill app (and what this means), please see BusKill App: Graphical User Interface
Step 4: Disconnect the cable
If BusKill’s connection is severed when the app is in the “Armed” state, then your screen locks.
For a video demo of how this should look, see our BusKill Demos video
That’s it! You can now connect the carabiner to your belt, plug the cable into your computer, and Arm the app. If your laptop is physically separated from you, then the cable’s connection will be severed, and your laptop screen will lock.
Documentation
For further information on how to use your BusKill cable, please see our documentation:
Useful Links
Specifically, you may be interested in the following articles in our documentation:
- Hardware Assembly
- Quickstart
- Opening the BusKill App
- Using the BusKill App
- Frequently Asked Questions
- Need Support? How to Get Help!
Currently the BusKill GUI app supports locking your screen and shutting down your device. Linux users can setup their BusKill cable to execute any command using a udev rule.
If you’d like to setup destructive “self-destruct” triggers in Linux and QubesOS, see the following guides:
GitHub
If you’d like to review our code, see what we’re working on, file bug reports, or send feature requests, please see our GitHub repo:
Interdiction?
We ship the BusKill cable with the software for our user’s convenience. Of course, this introduces the risk of interdiction.
Included on the BusKill USB Storage drive is a “sigs” directory that includes all of the BusKill software’s platform-specific releases (compressed archives), the BusKill team’s PGP Keys, a “SHA256SUMS” manifest file, and its cryptographic signature “SHA256SUMS.asc“.
If you’re a high-risk individual, we do recommend downloading our PGP Keys out-of-band and cryptographically verifying the authenticity & integrity of the BusKill App.